Step 1 Selection of the Tree Trunk
Dear Family Schopfer,
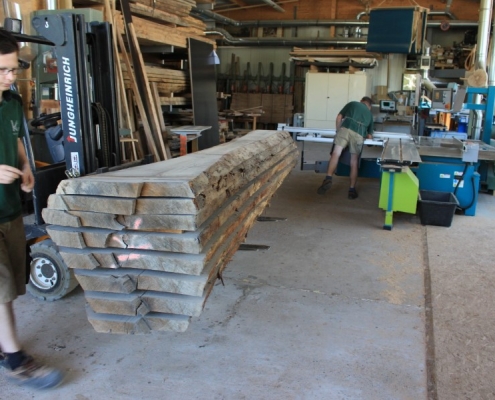
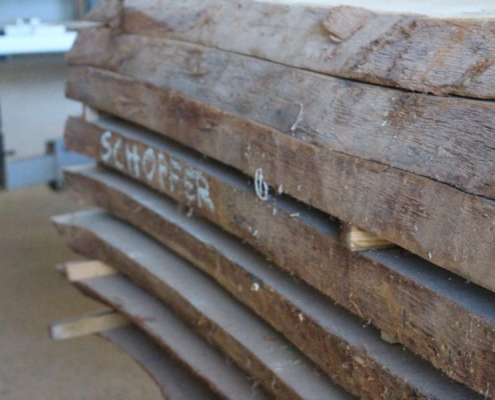
Now, the handcrafted process for your customized wooden table started. We selected two really high-class tree trunks out of oak on a sunny June morning. Both tree trunks are naturally dried which is something unique and special. However, the character of the trees is quite diverse. We are very much looking forward to your choice of the two.
Let me make one remark: Usually, Hermann Kasper as the master of the carpentry speaks on the videos as he has the most knowledge on the specific tree trunks. It was the first time that we did the recording in English, so this is why there might be some misleading words. So, if there is anything unclear, please do not hesitate to contact us.
Step 2 Cutting of the Tree Trunk
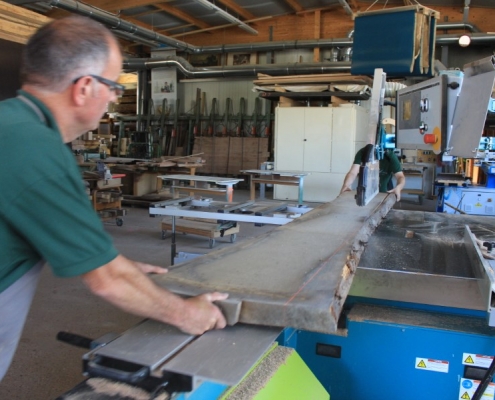
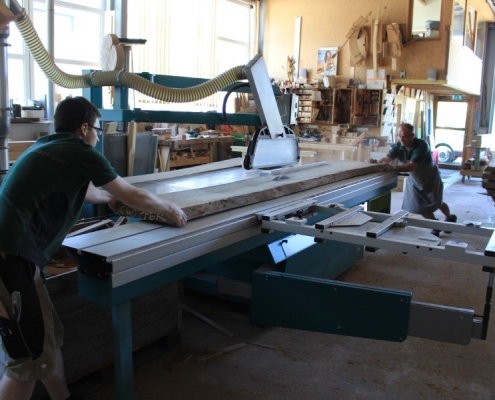
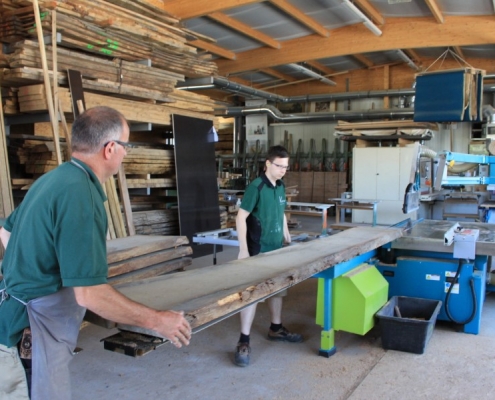
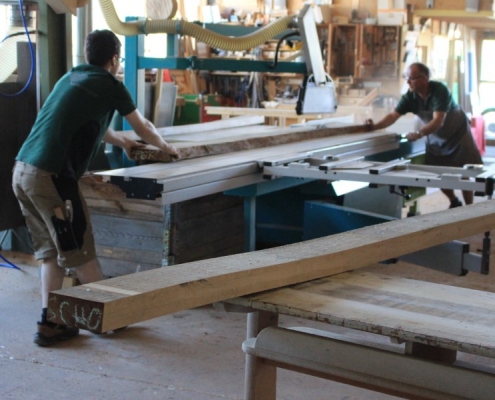
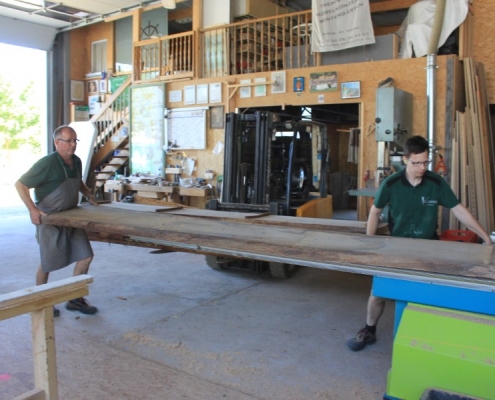
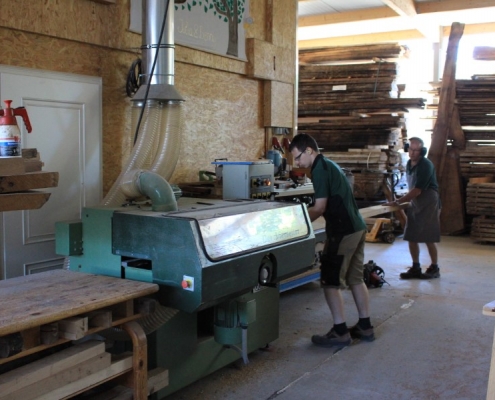
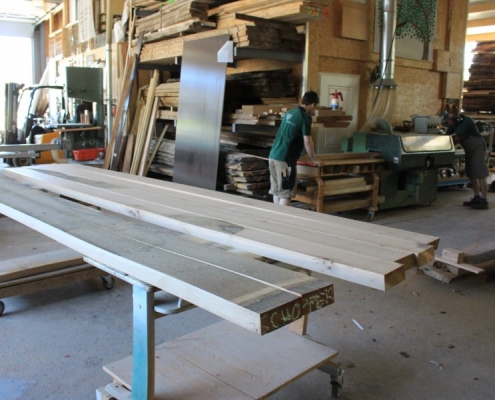
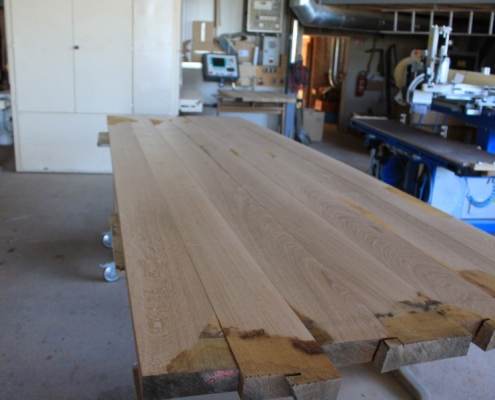
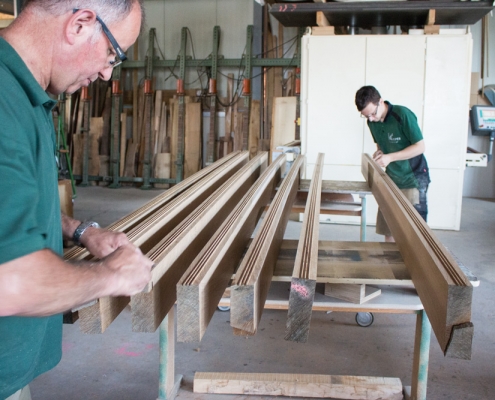
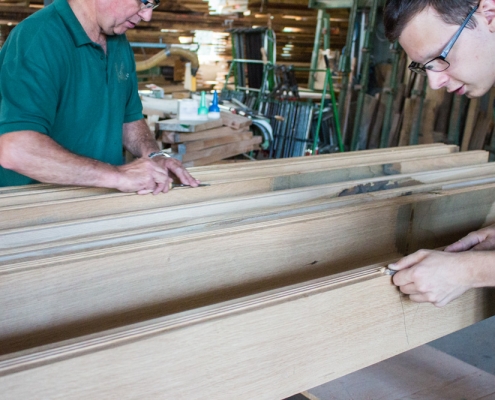
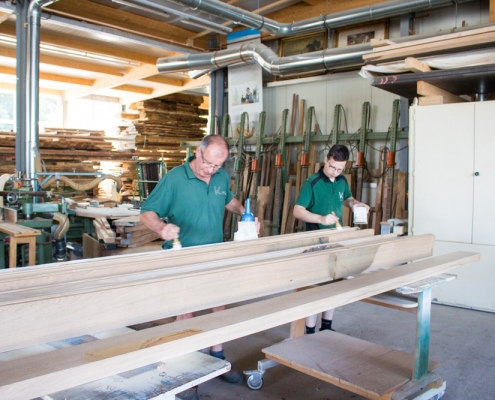
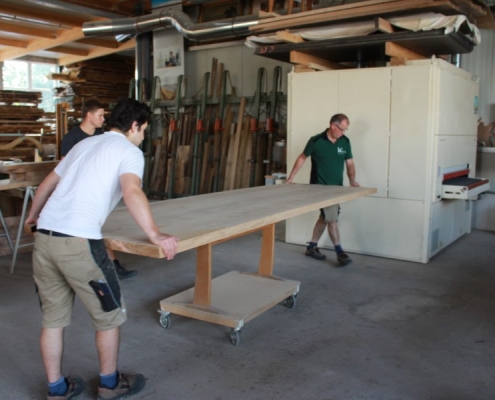
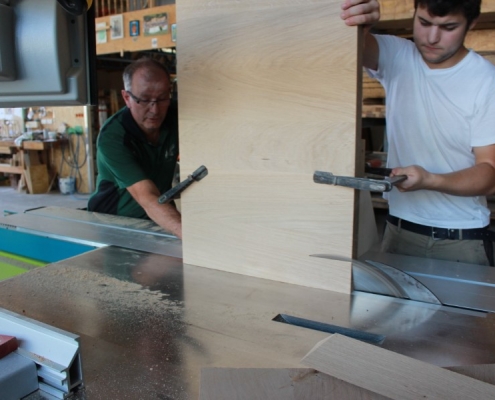
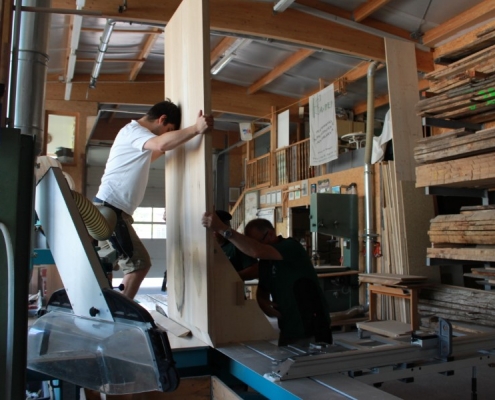
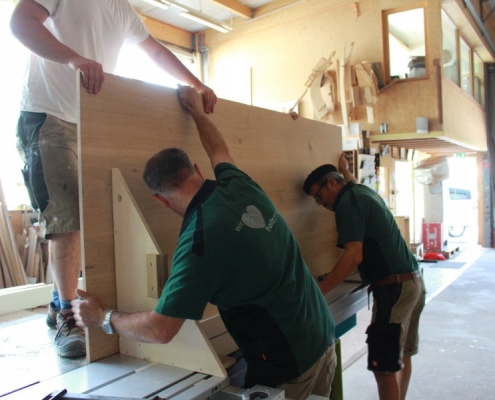
On a sunny June day, your oak tree trunk was cut. As the table measures a length of 3.4m our two carpenters Willi and Marco had to put a bit of an effort into cutting the tree trunk.
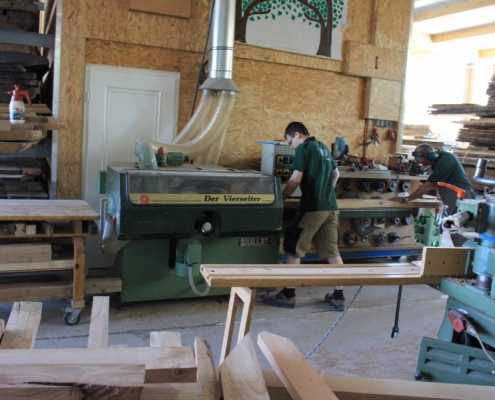
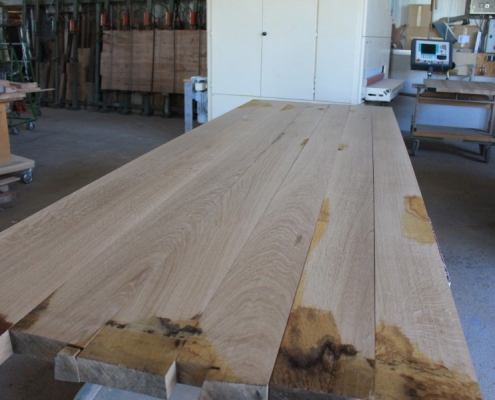
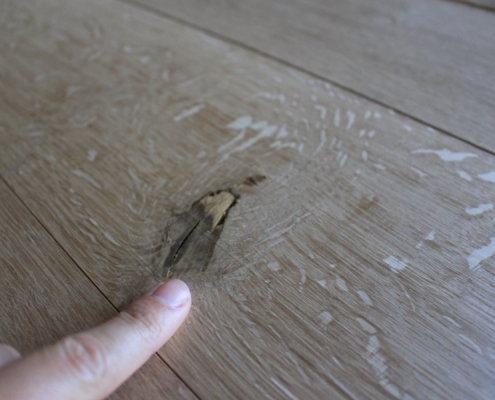
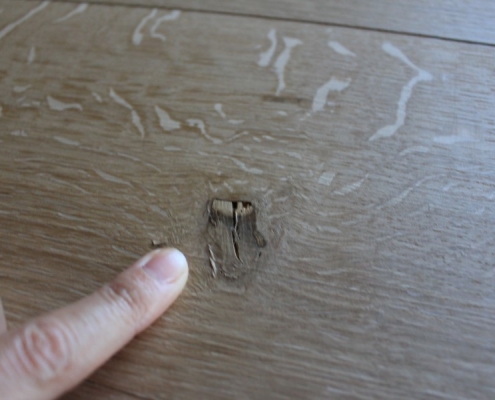
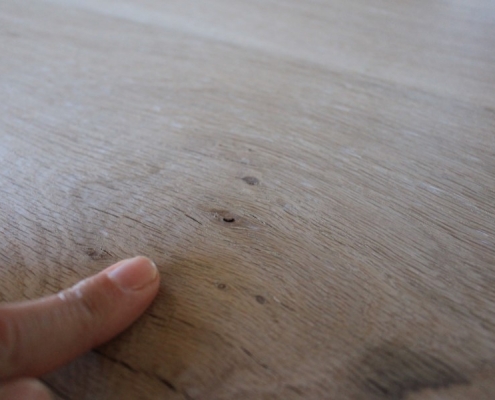
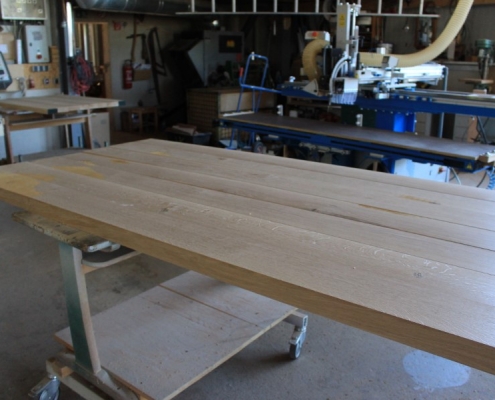
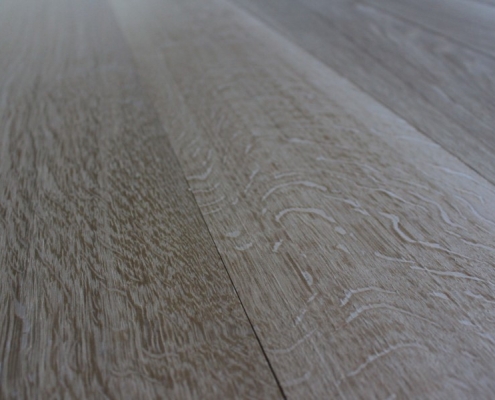
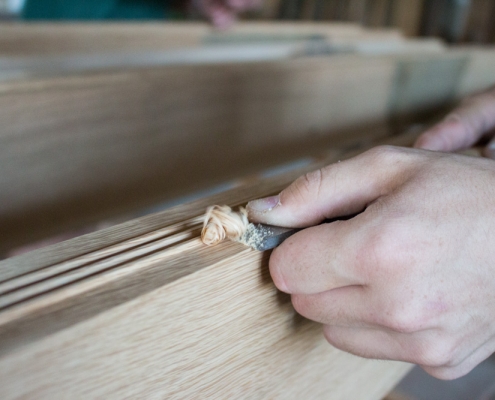
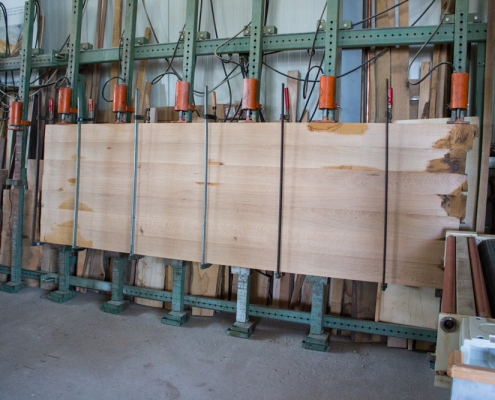
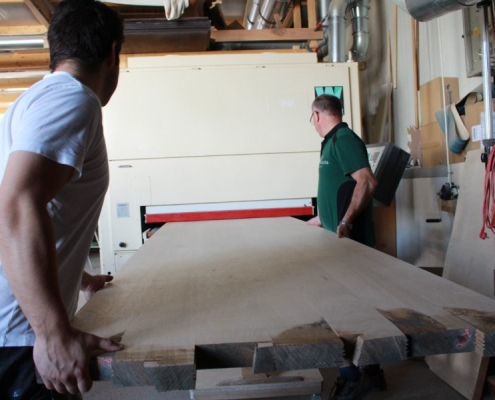
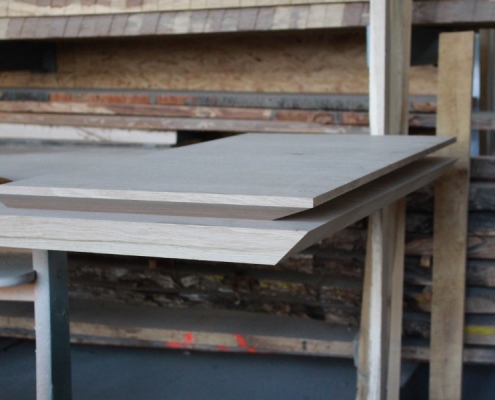
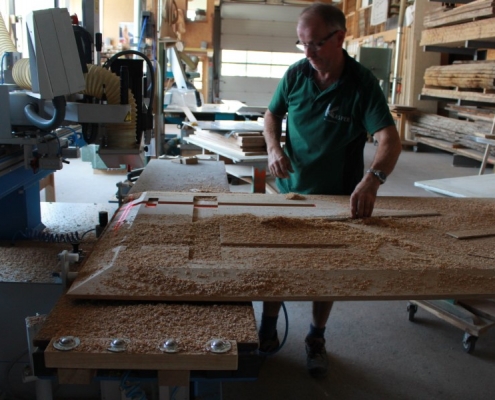
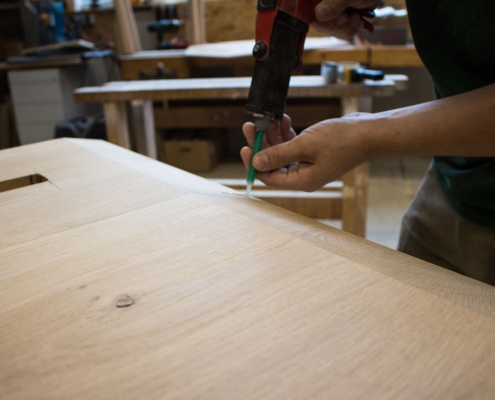
The next step was then to plane all four edges (that’s why the machine is called ‚Vierseiter‘). Now, the structure of the wood was visible for the first time. Our carpenters are delighted about what came out of the tree trunk. We do have little and some larger knotholes that I photographed with my finger to show you the relative size. You do not have to worry about the surface and the dark areas that you see. It will be further smoothed later in the process.
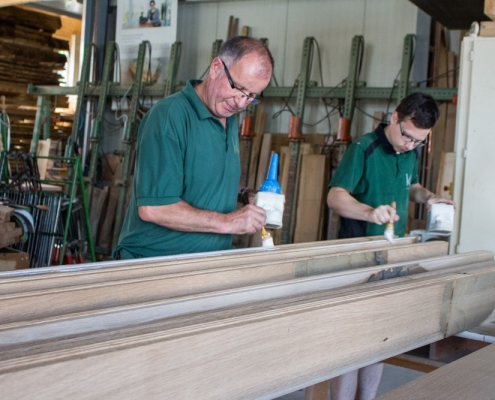
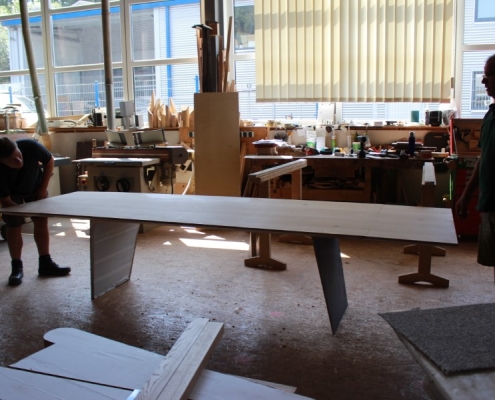
We would like to glue the table top on Monday and we are highly interested in your view on the wood. Do you like the constellation of it?
